How to Grow Vegetables in Shade
Even if you don’t have a bright, sunny yard, you can still grow delicious and nutritious edible plants. While plants that are grown for the fruit or the root generally do require full sun to thrive, plants grown for their edible leaves and stems will often do just fine in the shade.
Before planting or even planning your shaded edible garden, it’s important to assess just how shade the garden is. Areas that are directly and deeply shaded by trees or buildings may be better suited to growing shade-tolerant ornamental plants. But areas that have partial shade, with perhaps a half day of sunshine (preferably in the afternoon), or dappled shade, where light filters through overhead branches, can support a number of vegetables and herbs from the following list:
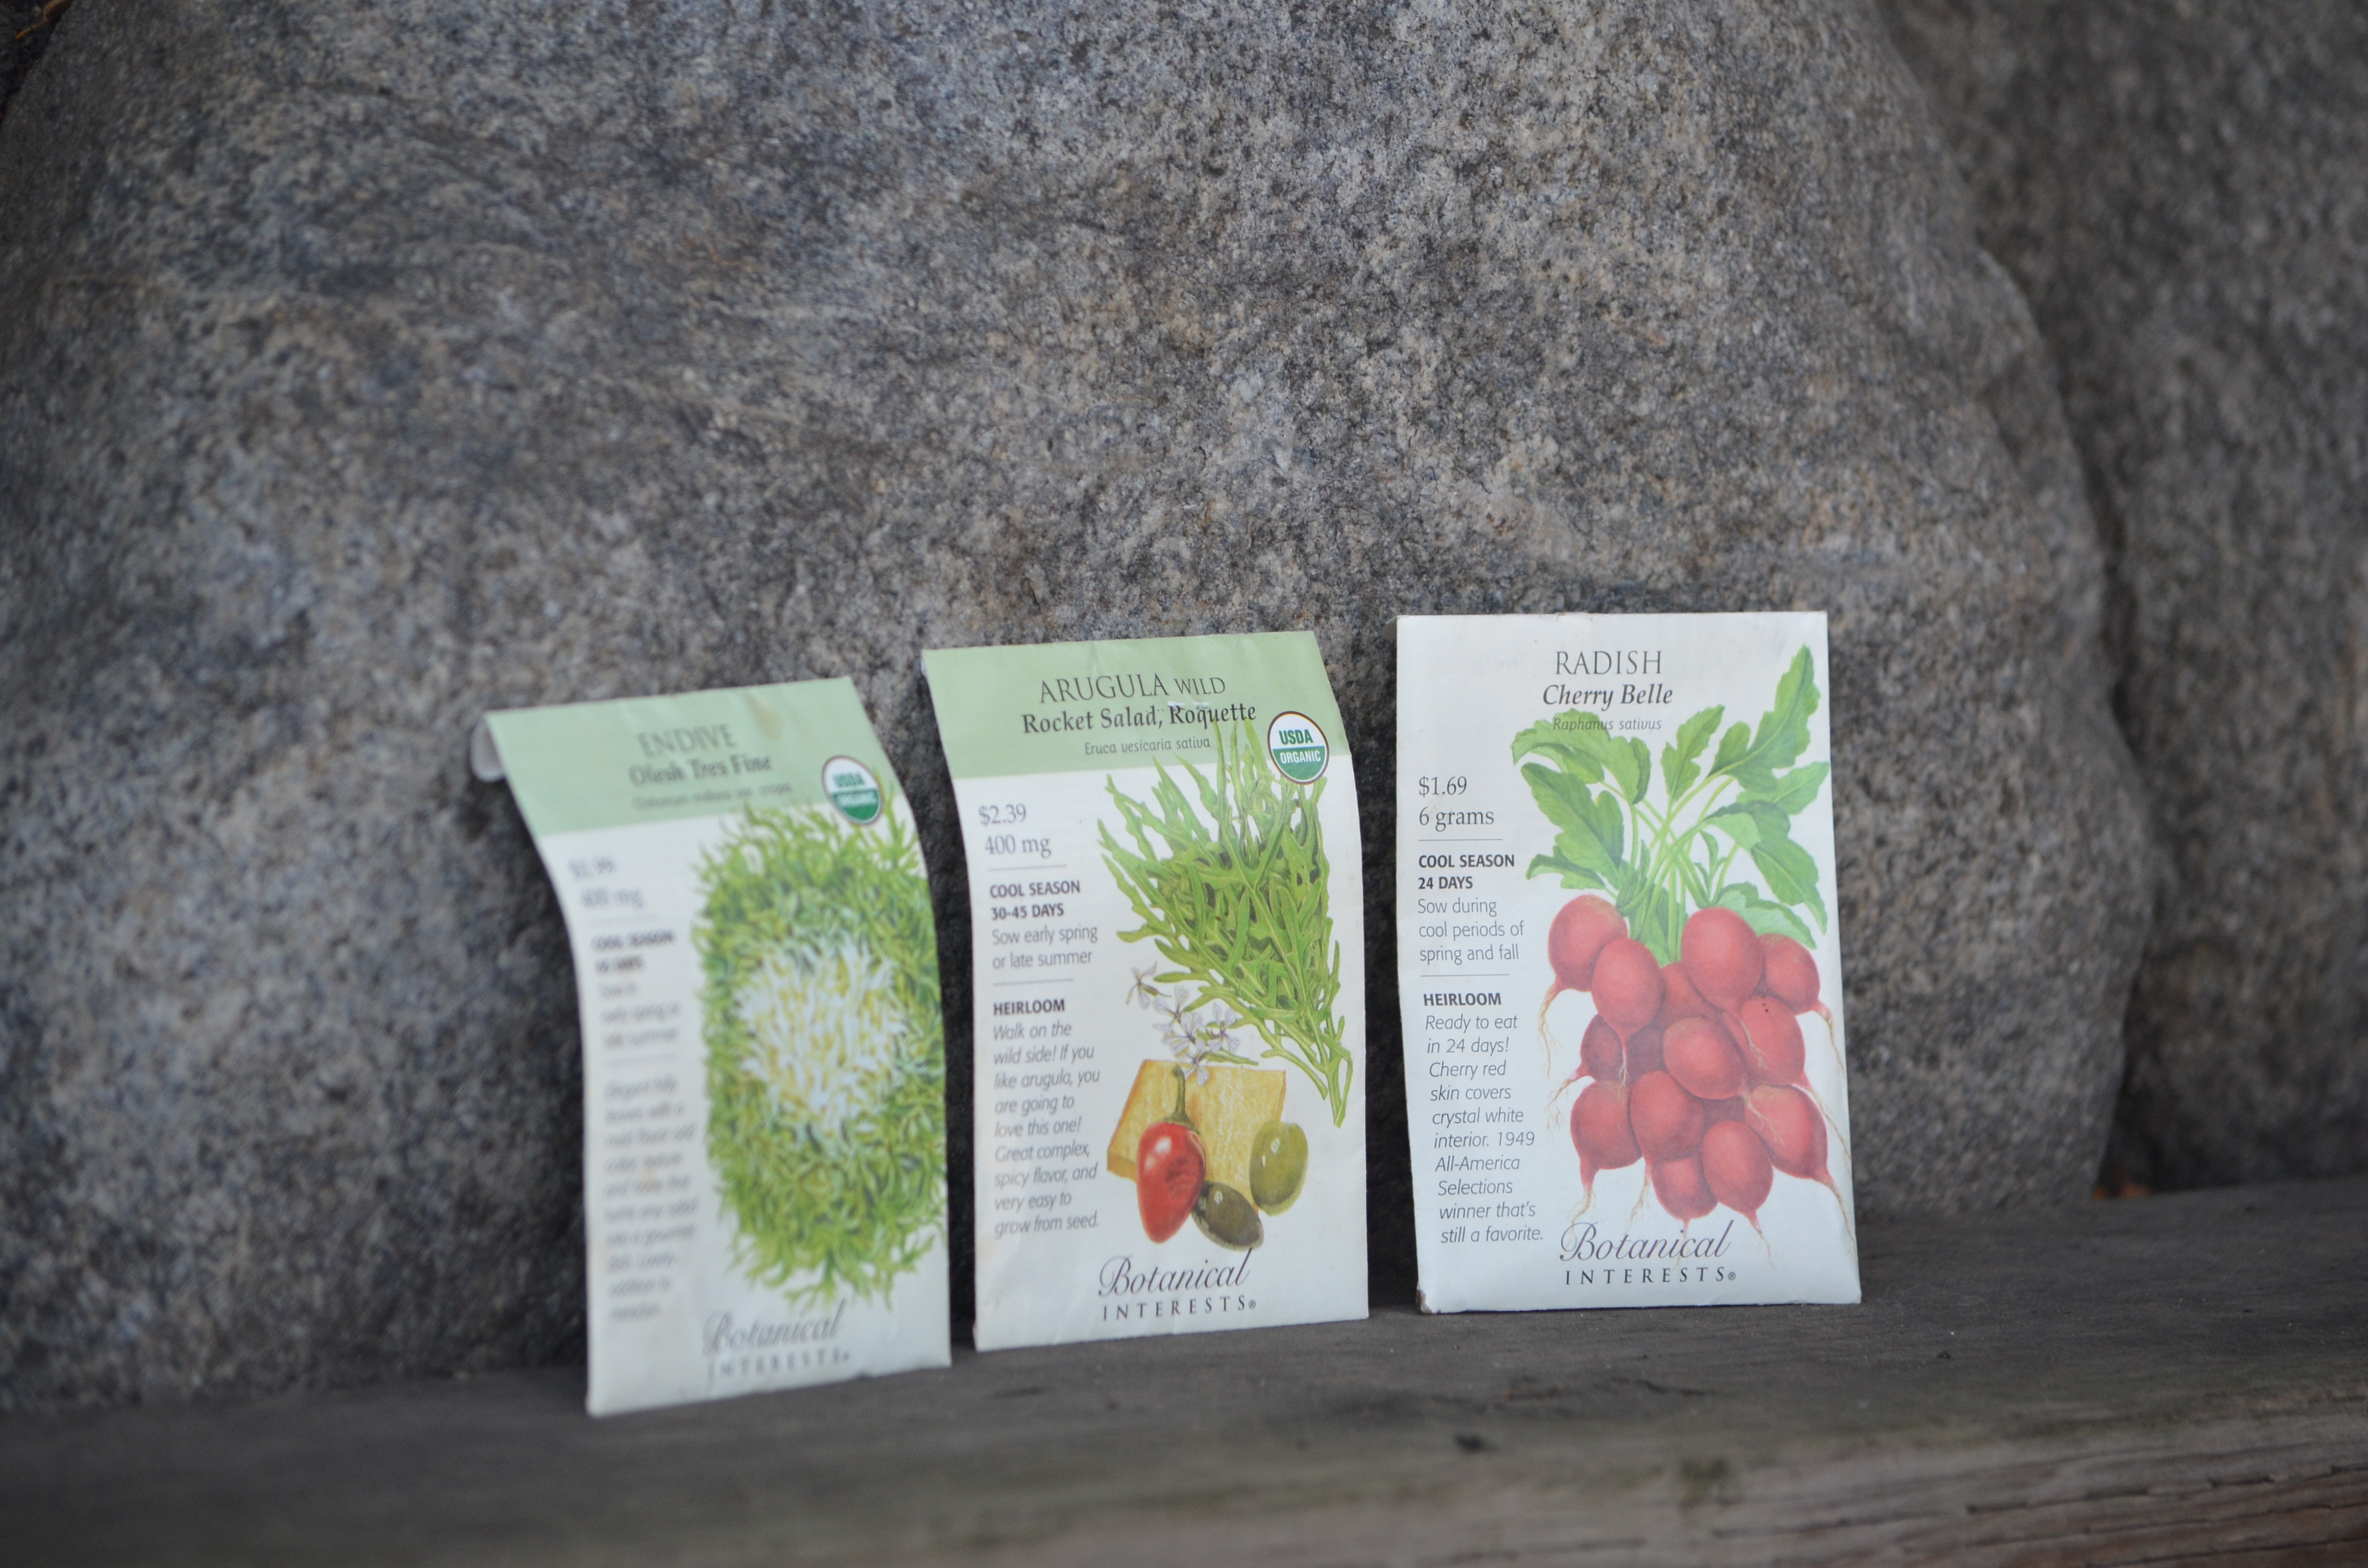
| Arugula | Leek |
| Basil | Lettuce |
| Beet greens | Mustard greens |
| Broccoli | Parsley |
| Cabbage | Peas |
| Chervil | Radicchio |
| Cilantro | Radish |
| Chives | Scallions |
| Dill | Spinach |
| Endive | Swiss chard |
| Garlic chives | Turnip greens |
| Kale | Watercress |
 Any of these plants can be grown easily from seed, and sowing seeds will give you a greater range of planting options. The seed packet will provide details on how and when to plant and you can check out the project Planting Seeds Successfully for more guidance. But if you are short on time or just anxious to get started, your local garden center will have a selection of seedlings that are suitable for planting at that time.
Be sure to take advantage of places in your garden under deciduous trees that are normally too shady but that get more light in the late fall and winter after the leaves have fallen. Those spots may be perfect to fit in one or two cool-season crops like kale or spinach before the branches leaf out again in the spring.
Once you’ve determined where to plant your shade-tolerant edibles, follow these steps to start and maintain your shade crops.
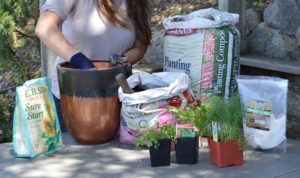
Materials List: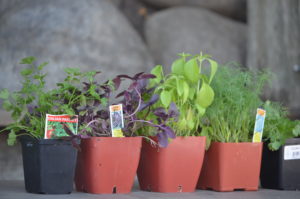

- Variety of plants from the list above (as seeds or nursery-grown seedlings)
- Trowel
- Gloves
- Organic fertilizer
- Organic pest controls
Steps:
- Prep the Soil: A couple weeks before planting, prepare the soil by spreading a 3- to 4-inch layer of compost and working it into the soil. Preparing the soil well in advance gives worms and beneficial nematodes time to incorporate the compost more completely into the soil.
- Plot the Garden: Map out a plan, planting in rows or blocks, or in containers.
- Plant Seedlings: Remove each plant from the nursery containers and gently loosen the root balls. Plant each seedling at the same depth that it was planted in the nursery container, fill in soil around the roots and tamp it down so no air pockets are left around the roots. Water well.
- Sow Seeds: For plants like lettuce, arugula, or radish, you can sow seeds by broadcasting it thinly over a cleared patch of ground or container of potting soil. Press down lightly on top of the soil to make sure the tiny seeds make contact with the soil and sprinkle water gently but thoroughly over the seeded area. As the seeds sprout and grow, you can thin them out to allow more space for the plants to grow (and use the thinnings in a salad or stir-fry!).
- Do It Again: Repeat plantings every two to three weeks to extend the harvest over a longer period.
- Feed Regularly: Feed the plants with a side-dressing of compost or other organic fertilizer on a regular schedule. Usually, once-a-month feeding is sufficient.
- Patrol for Pests: Check regularly for pests such as snails, beetles, and earwigs that will damage the leaves. Sprinkling diatomaceous earth on top of the soil around the plants may help to keep those pests under control.
