Repotting or Transplanting a Plant
Sooner or later, many plants outgrow their conditions. Giving a plant fresh soil and more room to grow is one of the simplest steps you can take to keep it healthy and flourishing.
When a plant has been in a container for more than a year, it can become root-bound, with the roots growing in tangled circles—essentially strangling itself and eventually choking off its circulatory system. Potting soils will also degrade and decompose over time, leaving the plant in a nutrient-deprived state. If you notice the plant dropping leaves, failing to flower, or simply not thriving, it may indicate that it’s time to repot.
Even plants in the ground sometimes need to make a move. They may outgrow their current location or the conditions of the location may have changed over time—perhaps being overshadowed by a growing tree or having more competition for water. Transplanting to a new location can give a struggling plant a new lease on life.
Materials List
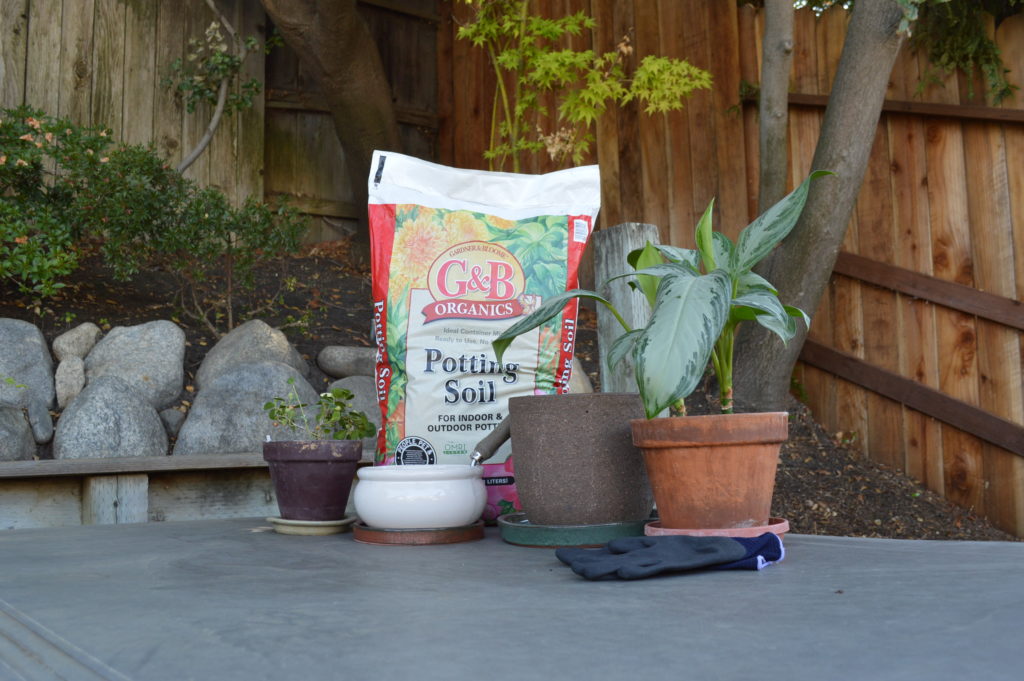
- Trowel or shovel
- Pruners
- Sharp knife
- Container
- Potting soil
Steps
To repot a plant:
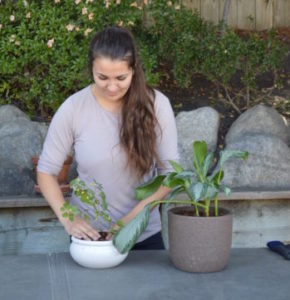
- Remove Plant from Pot: Insert a trowel around the edges of the soil to loosen it from the pot and gently slide the plant out of its container. If the plant is firmly stuck in the pot, check the bottom to see if roots are growing out through the drainage holes. If they are, clip the excess roots off with pruners and try again to remove the plant. If necessary, plastic nursery pots can be cut off with a sharp knife or heavy-duty scissors
- Clean Up Root Ball: With the plant out of the pot, examine the root ball. If roots are matted at the bottom, you can loosen them with your fingers or just cut the matted part away. Also trim off any roots that appear mushy or diseased, but if much of the root system looks this way, it’s best to discard the plant.
- Replant in New Container or Soil: After trimming and loosening the roots, you can repot the plant in the same container or a larger one. Fill the pot up with enough fresh soil so that the root ball can rest on the soil and the soil line will be within a few inches of the rim of the container. Fill in more soil around the roots, packing it gently but firmly so that there are no air pockets. Water well.
- Add Mulch: Apply a 3” layer of mulch to minimize evaporation and suppress weeds.
- Water Regularly: For the next month after repotting, watch carefully to make sure the plant is getting adequate water. Do not fertilize or prune for at least a month after repotting to give the plant time to re-establish.
To transplant a plant:
- Choose the Best Time: Transplanting is best done when the plant is dormant, or at least not stressed by drought or disease, and not when it is flowering or fruiting.
- Identify the Drip Line: Using the tip of a trowel or shovel, outline the area of ground under the circumference of the plant’s branches. Most of the plant’s roots are concentrated within the drip line.
- Dig Up the Plant: With a trowel or shovel, dig all around the perimeter of the plant’s drip line. How deep you’ll have to dig depends on the type and size of plant and your soil conditions, but try to bring up the entire root ball or at least as much as possible. You can place the plant in a temporary container or on a tarp to move it to its new location.
- Re-plant: Dig a hole in the new location that is the same depth as the root ball but twice as wide. Set the plant in the new hole and fill in the soil around the roots. Do not add any amendments to the soil at this time.
- Water Well and Apply Mulch: Keep the plant evenly moist and apply a 3” layer of mulch around the plant.
- Let the Plant Adjust: Do not fertilize or prune for at least a month. You can resume regular maintenance of the plant when you see new growth emerging.

